

Treads on a Budget
Materials needed:
 |
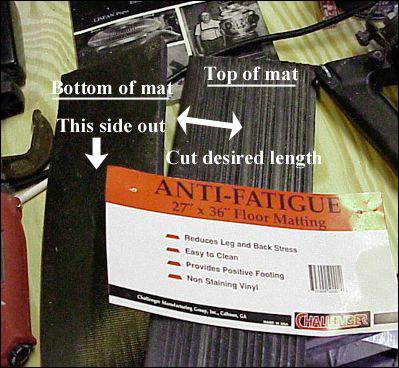
Once you have purchased the mat, you'll understand why it is perfect for the job. This is one durable piece of matting. The bottom of the mat will actually be facing outward when finished. The top side has grooves which will help aid in scoring and cutting the tread sections. |
 Figure 1 |
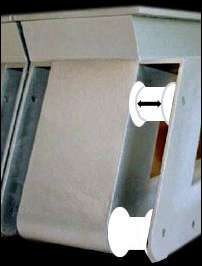
Start off by measuring the inside width of the narrowest
wheel (Figure 1) in that set. If all wheels are the same width,
then use any of the wheels. Subtract about 1/8" from this number
and that is the width you will need to cut from the mat. With the top side facing up, mark the mat with the correct width. I got lucky and every measurement seemed to hit a groove. Use a steel yardstick and a sturdy utility blade to cut the length of strip. Insert this piece over the wheels for a quick test fitting. Trim as necessary. Use these measurements to cut a second strip to be used for the tread teeth. Cut the tread teeth strip, into 1" widths.You'll need at least 24 teeth (12 per side) to show. |
 Figure 2 |
Since the mat is 1/2" thick, you'll need to use a band saw to cut the teeth in half (Figure 2). For the record, do not hold the piece with your hands while using a band saw. Use a simple jig to hold the piece as you push it through the saw (trust me). Once you have cut all the teeth for that section, discard the top (grooved) half since you will be using the bottom (smooth) half. Lightly sand any rough areas. |
| Lay the tread base out with the bottom (smooth) side facing up. Attach the teeth to the tread base using Goop, leaving a 1/4" gap between each piece. To seal the edges, use several coats of Elmer's Squeez'N Caulk to achieve a smooth finish.You can apply this either with a brush or your finger. Once dry, use the Plasti-Dip and spray two or three coats, giving ample drying time between coats. | |
 Figure 3 |
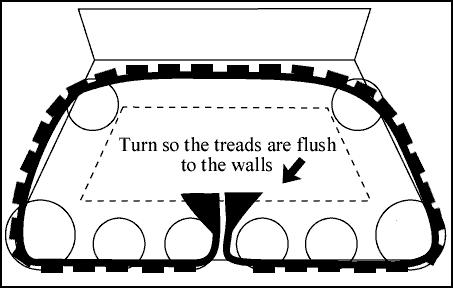
Test fit the section again. Once you have decided on the placement, turn one the ends flush (Figure 3) to the inside of the panel piece (Figure 4) and staple securely. Pull the other loose end until the tread section becomes slightly taught and staple this piece to the inside panel. |
|
|
Staple on the inside wood panel. |
 Figure 5 |
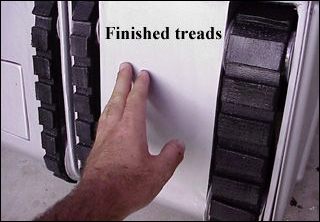
Whew! You did it. Now all you have to do is repeat this for the other three wheel sets and your finished parts should look like Figure 5. This is just a tip for building the tread sections. Feel free to make any variations to any of these steps. To give my robot mobility, I used five wheels that are found on most office chairs and placed them under the base of the tread section. This allows the finished Robot to move freely and so far no one has noticed that the treads aren't moving. |
|
If you'd like to learn how to make your wheel sets
out of paper tubes and simple plastic
or if you have any questions, I can be reached at: john@john-jordan.com |
|